Posts

Showing posts with the label handmade

Experiments in using solder paste

Image
Generally when joining metal I use sheet solder, which is economical and in most cases, easy and fast to use. But sometimes it can be a pain to get solder in place around a particularly tiny piece, so I thought I'd have a go with silver solder paste  instead. It's a bit more expensive but it lasts for ages. I'm starting out with a plain silver ring , to which I'm going to solder some silver and copper blobs. Blobby blobby blobby! OK, right. Here we go. Excuse my fingernails, I've been testing out gilding nails with copper leaf. It actually worked pretty well, this is a few days afterwards.. Dot punch to start with. Stops the drill skipping off the surface of the ring. Bzzzzzzzz. Only drill a bit into the surface, don't go all the way through. Repeat until lots of holes. This is fine silver casting grain, usually used for melting down prior to turning into other exciting stuff , but this shape is exactly what I want for this ring. Carefull...

A Raspberry Pi Media Centre

Image
OK, so there's a million of these out there. This one is for some friends of mine. It's a Model B Pi running Kodi (previously known as XBMC) with a 1TB disk, wifi etc. Two bits I like and make it a bit different - the handmade wood case, and the switches. The case is cedar and purpleheart, so it looks striking and smells amazing. The big chunky toggle switches are set up to play music, so it can work as a jukebox without needing the TV on to access controls. There's a python script to do this, which I'll detail later. So, without further ado, the build. First up, making the case. I cut some channels into the cedar to slide the base into later (I don't have a full-size router so I did it with my 3KW mitre saw - luckily this is nice chunky wood so I could make those cuts without risking going all the way through). Clamp them bad boys up to the piece of purpleheart that is the front of the box (never enough clamps....) with some woodglue, leave for 24 hours. ...

Resin-inlaid Wood

Image
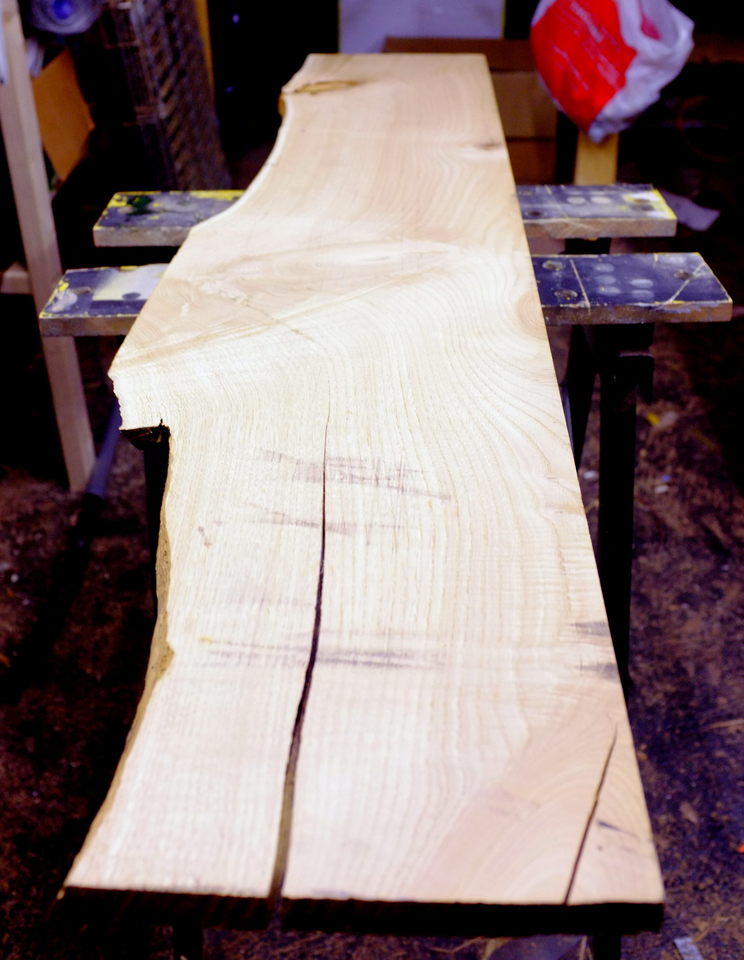
A non-jewellery post, for a change. We were running a bit short on shelving in the kitchen and wanted somewhere we could store all the preserves we're going to make from the garden this year, so we went to the timber yard to see what they had. They had this, 155cm long piece of chestnut. It was pretty heavily cracked and pitted, with knotholes and so on. But, I had a plan. Resin inlay. A technique traditionally used with a colour-matched epoxy to the wood, to give an "invisible" repair. I'm taking a slightly different approach. First job, seal off the holes from the bottom, using aluminium plumber's tape. It's super sticky so it seals well, and it won't be damaged by the resin either. You might need these seals to hold for a few days, depending on the weather. Make sure the wood is level, otherwise you'll end up with wonky resin bits. Now it's time to mix the resin. Give it a good mixing and then add your pigment. If you warm i...