A Raspberry Pi Media Centre
OK, so there's a million of these out there. This one is for some friends of mine. It's a Model B Pi running Kodi (previously known as XBMC) with a 1TB disk, wifi etc.
Two bits I like and make it a bit different - the handmade wood case, and the switches. The case is cedar and purpleheart, so it looks striking and smells amazing. The big chunky toggle switches are set up to play music, so it can work as a jukebox without needing the TV on to access controls. There's a python script to do this, which I'll detail later.
So, without further ado, the build. First up, making the case. I cut some channels into the cedar to slide the base into later (I don't have a full-size router so I did it with my 3KW mitre saw - luckily this is nice chunky wood so I could make those cuts without risking going all the way through). Clamp them bad boys up to the piece of purpleheart that is the front of the box (never enough clamps....) with some woodglue, leave for 24 hours.

 Test fitting the switches.
 Now to make up the box base, which will hold all the IO and the disk, Raspberry pi and so on. I've cut some MDF to shape and fitted a backplate, to which port replicators are being fitted for HDMI, audio, power and USB. Good strong dollop of epoxy resin to hold these ones in.
 Purpleheart changes colour on exposure to UV, so I tend to keep it wrapped while working so the full purple colour stays bright until the piece is finished. I rounded off all the edges once the glue had set, and because overkill is the best kind of kill, I sanded it to 1200 grit so it's silky smooth to touch.
 Here's the pile of stuff to go in. Raspberry pi, USB hub, 1TB disk, wifi dongle, cables to connect them all.

 OK, change of plan. I'm going to mount the disk on the bottom of the base board, so I'll rout out a space for it. This actually has a few advantages in terms of helping cool the system, and one extra neat bonus which you'll see later. Dremel mini-router ftw!
 Disk-shaped gap ready to go. I also shaved a few mm off the edges, so the base plate will sit a little lower in the case, buying me a tiny bit more space inside.
 Routing MDF with no extraction is hella messy, even with a tiny 2.7mm bit!
 Disk in place. It's glued in, but if it needs changing it's easy enough to pull a layer of MDF off with the glue. 1TB doesn't sound like much to power users but for a little jukebox and occasional TV machine for my non-techie friends it'll be fine.
 OK, panic over on the fitting everything in, time to get down to some software stuff, and good old-fashioned IO. Here's a GPIO breakout ribbon hooked up to the pi. I've installed the latest XBian on there and got Kodi up and going, wifi and so on.
There's some python in the background of this picture (over ssh) which is monitoring voltage drops over various pins. I enjoy programming python, and I very enjoy doing physical IO. The basic script worked easily enough, I can spot pins being closed/opened. Time to hook up the switches and get on with the fun bits.
 Soldering the ribbon cable up to the 12A rated switches (my friend requested these huge things - they're pretty awesome, I think)

 Switches in, labels glued down. Looking good.
 Quick break to talk about how the playlist switches work. There's a python script which monitors the pins the switches are connected to and can tell if they're turned on or off. Good start, and it's easy to fire off a command to Kodi saying "Playmedia(reggae.xsp)" (playlists are .xsp files) when a switch is turned on, or "PlayerControl(Stop)" when a switch is turned off.
But what happens if the user turns on the 'jungle' switch without turning off 'reggae'? Jungle starts playing, OK - but then maybe they notice reggae is still on, and turn it off! Then, confusingly, the music stops while jungle is still turned on. That's not right.
So, with a bit of cleverness we can keep track of which order the switches were turned on, and make sure that we don't stop anything unexpectedly, and always activate the most-recently turned on switch. Neat, huh!
But, it doesn't stop there. I later found out that Kodi will let you combine playlists - so you can make a playlist which is made up of other playlists. That means the final version of the script will add playlists - if you turn on reggae, then turn on jungle, you get a playlist which is made up of both reggae and jungle. Turn off one, it's removed from the list - turn on another and it's added. This way you can look at the switches and you know what should be playing. The system is predictable and consistent (hopefully!)
The script itself is here, feel free to take a copy if it's any use to you. It needs to run as root, so it can access the Pi's GPIO pins.
Alrighty, back to the build. Switches are working, software is installed and set up - it's just time to assemble. The wood has had a few gentle coats of beeswax, just to give it a little sheen, and I added a little copper gilding to spice it up a bit. Here's the final assembly.
From the back, note HDMI and headphone jack outputs - Kodi is configured to send audio to both. Power socket and power switch on the left, as well as a nameplate (I had a bit of spare copper, why not?)
 From the sides:

 From the front. Man, purpleheart is so good looking.
 Finally, powered up and driving a TV. Remember I said there was a nice bonus to the externally mounted disk? Well, it's that gentle blue light underneath the box (from the USB interface on the disk). Easily covered up with a bit of tape if required, but I think it's nice.

Two bits I like and make it a bit different - the handmade wood case, and the switches. The case is cedar and purpleheart, so it looks striking and smells amazing. The big chunky toggle switches are set up to play music, so it can work as a jukebox without needing the TV on to access controls. There's a python script to do this, which I'll detail later.
So, without further ado, the build. First up, making the case. I cut some channels into the cedar to slide the base into later (I don't have a full-size router so I did it with my 3KW mitre saw - luckily this is nice chunky wood so I could make those cuts without risking going all the way through). Clamp them bad boys up to the piece of purpleheart that is the front of the box (never enough clamps....) with some woodglue, leave for 24 hours.
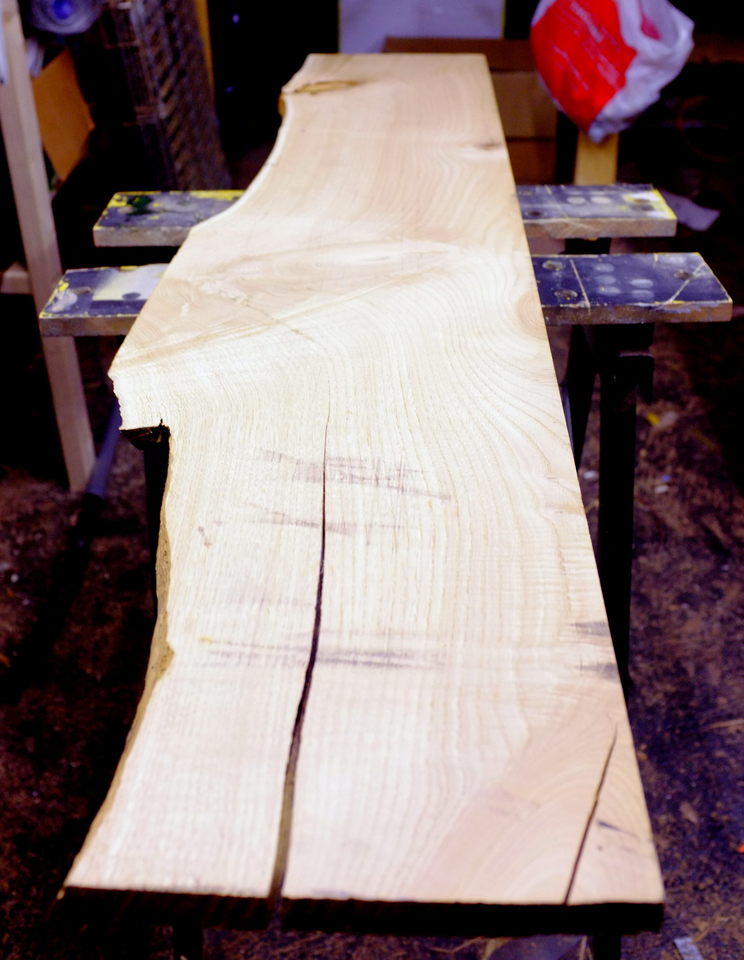
Meanwhile, got some work to do on the top. There was a few little cracks so I cleaned them out and filled them in using crushed turquoise and superglue. Sparkly! A bit of sanding is needed from this photo to get it perfectly flat.
Uh-oh! I drastically underestimated the amount of space the socket extenders and the various usb link cables would take up - there's no way this lot is going to fit in the box. Argh!
There's some python in the background of this picture (over ssh) which is monitoring voltage drops over various pins. I enjoy programming python, and I very enjoy doing physical IO. The basic script worked easily enough, I can spot pins being closed/opened. Time to hook up the switches and get on with the fun bits.
OK, quick break to make some copper labels for the switches. Simple 4mm letter stamps on 1mm thick copper plate, cover in Protectaclear sealant so they stay nice and shiny. The text is a bit wobbly but I like it that way.
But what happens if the user turns on the 'jungle' switch without turning off 'reggae'? Jungle starts playing, OK - but then maybe they notice reggae is still on, and turn it off! Then, confusingly, the music stops while jungle is still turned on. That's not right.
So, with a bit of cleverness we can keep track of which order the switches were turned on, and make sure that we don't stop anything unexpectedly, and always activate the most-recently turned on switch. Neat, huh!
But, it doesn't stop there. I later found out that Kodi will let you combine playlists - so you can make a playlist which is made up of other playlists. That means the final version of the script will add playlists - if you turn on reggae, then turn on jungle, you get a playlist which is made up of both reggae and jungle. Turn off one, it's removed from the list - turn on another and it's added. This way you can look at the switches and you know what should be playing. The system is predictable and consistent (hopefully!)
The script itself is here, feel free to take a copy if it's any use to you. It needs to run as root, so it can access the Pi's GPIO pins.
Alrighty, back to the build. Switches are working, software is installed and set up - it's just time to assemble. The wood has had a few gentle coats of beeswax, just to give it a little sheen, and I added a little copper gilding to spice it up a bit. Here's the final assembly.
From the back, note HDMI and headphone jack outputs - Kodi is configured to send audio to both. Power socket and power switch on the left, as well as a nameplate (I had a bit of spare copper, why not?)
From the front. Man, purpleheart is so good looking.
Usual shameless plug for my store.


Comments
Post a Comment