Posts

Showing posts with the label wood

Making a wooden ring - choose your own adventure

Image
So, I make quite a few tutorial videos and people always say "yeah, that's cool but what if I don't have all that gear" Well, hopefully this video addresses that problem.

Raspberry Pi and Dotstar LED Jukebox

Image
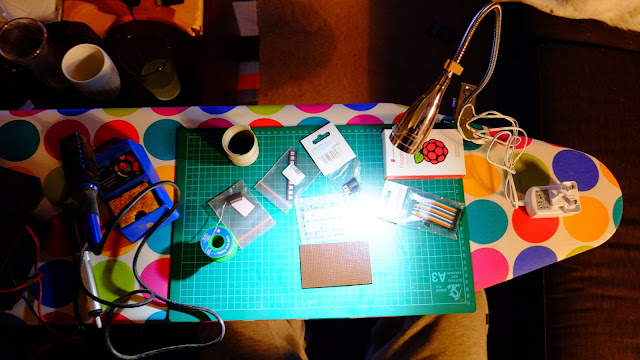
A little while ago I made a media centre for some friends, which had hardware audio playback controls. Much as I love giving people things, I was a bit jealous because it was pretty cool thing (even if I do say so myself). When the opportunity came up to make one for our upcoming wedding, I jumped at the chance, and added a few features extra to the original design. A little time scouring the internet for parts and then, time to assemble: First up, out with the ironing board (soldering iron is an iron, right?). The dotstar LEDs run at 5v and the Pi's GPIO outputs at 3.3v, so we need a level shifter/bus buffer to bump the volts up a bit. Terrible messy circuit "diagram", but it worked. You can see the LED layout down at the bottom, there are six pins on each one - power, ground, clock in, data in, clock out, data out. This means they can be chained and addressed individually by software. They're pretty smart little things. Dotstars are new and a little more f...
Resin-inlaid Wood

Image
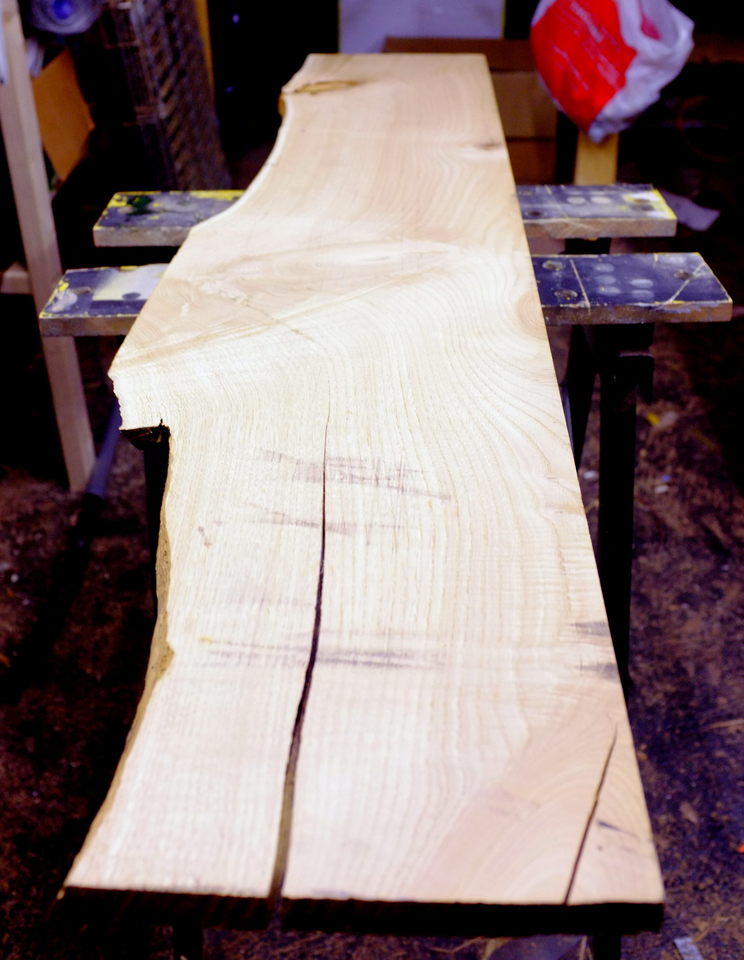
A non-jewellery post, for a change. We were running a bit short on shelving in the kitchen and wanted somewhere we could store all the preserves we're going to make from the garden this year, so we went to the timber yard to see what they had. They had this, 155cm long piece of chestnut. It was pretty heavily cracked and pitted, with knotholes and so on. But, I had a plan. Resin inlay. A technique traditionally used with a colour-matched epoxy to the wood, to give an "invisible" repair. I'm taking a slightly different approach. First job, seal off the holes from the bottom, using aluminium plumber's tape. It's super sticky so it seals well, and it won't be damaged by the resin either. You might need these seals to hold for a few days, depending on the weather. Make sure the wood is level, otherwise you'll end up with wonky resin bits. Now it's time to mix the resin. Give it a good mixing and then add your pigment. If you warm i...

How To Apply Varnish For Excellent Finishes

Image
Finishing can be fiddly. Sprayed lacquer is good, but spray guns are expensive and so is the stuff to put in them. Plus you can forget about breathing in your workshop for a few hours after each spray session. Applying a wax coat is quick and easy, does bring out some of the lustre of a wood, but it's easily damaged and needs reapplication regularly. Somewhere in between is this technique for applying standard off-the-shelf varnish to get a tough, durable, glassy smooth finish. It takes a little time, but mostly just waiting for each coat to dry. If you have somewhere dust-free you can leave pieces to cure, you can get on with other things in the meantime. Like with most things, don't rush it, be careful, practice a bit and you'll be able to get awesome finishes every time. Here is a piece of teak, which has been cut, shaped and sanded until perfectly smooth and ready to be finished. It's a nice shape, and it's pleasing to touch, but it doesn't look as good ...