Posts

Showing posts with the label finishing

Jewellery Pickle Comparison and Test (aka, The Great British Pickle Off)

Image
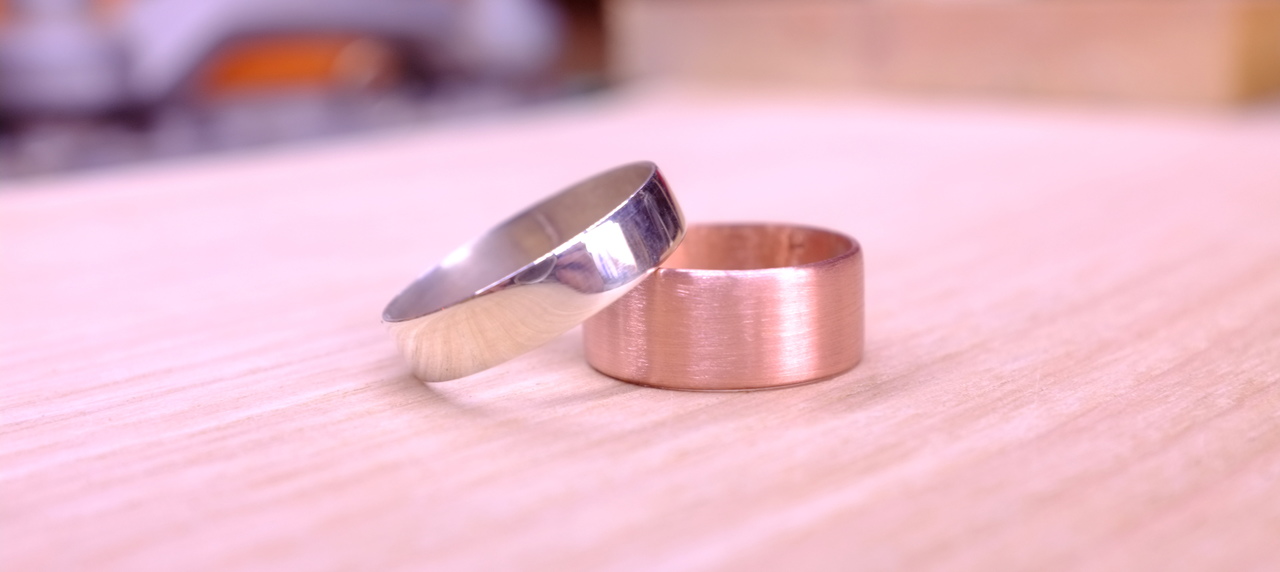
The question of pickling jewellery seems to come up quite a lot. What can I use as pickle? What's the best? Short answer is that any acid will work to "pickle" (to remove oxides from after heating) copper or silver. Longer answer is that some acids are more effective, quicker, than others. Much longer answer is this video in which I test vinegar, citric acid, sodium bisulphate (aka pH down aka safety pickle) and phosphoric acid against each other. For some reason Blogger embeds video at tiny size, so if you'd prefer then  click here to watch on YouTube .

Finishing Rings with CA (Superglue)

Image
Wooden rings benefit from a good tough, protective coating both for visual appeal and to keep them safe from scratches and knocks. CA (superglue) is perfect for this. It dries very hard, very tough and super glossy. The process for finishing a ring is pretty easy. It's as simple as building a few layers on the ring, sanding flat and then polishing to a shine. The ring featured below only took ten minutes from start to finish, which is helped by using an accelerator spray on the CA, but even without that you can do the whole job in well under an hour. Before starting, the ring has been sanded to 1500 grit, dusted and cleaned with white spirit, then mounted on my turning jig (OK, OK, it's a power drill clamped to my bench - but it works!). This process can be used for metal rings too - a coat of CA will protect a gilded finish, or stop copper from tarnishing. For a change, I've made a video of the process rather than photos. Here we go, apologies in advance for dodgy ed...

A Short Gilding Tutorial

Image
As requested by someone on Reddit's wonderful /r/crafts subreddit, a short tutorial on gilding. Gilding is not as hard as you might expect, and with a simple beginner's kit , you can get going right away. I suggest purchasing an imitation leaf kit to start with, as messing up gilding aluminium is an awful lot cheaper than messing up with 24k gold leaf! OK, so here are a pair of rings waiting to be gilded. They were made as per the tutorial on making metal rings I did last week. One silver, one copper. One bright and mirror polished, one satin finish. They need to be clean, so no finishing polish or wax just yet. I'm going to use two different gilds on these, in two different styles - but your options are limited only by your skills with a brush and your imagination. Gilding, being an ancient art, has lots of lovely old language associated with it. Gilders don't use glue, they use size. It's basically just glue. I like to use a nice fine lining...

How To Apply Varnish For Excellent Finishes

Image
Finishing can be fiddly. Sprayed lacquer is good, but spray guns are expensive and so is the stuff to put in them. Plus you can forget about breathing in your workshop for a few hours after each spray session. Applying a wax coat is quick and easy, does bring out some of the lustre of a wood, but it's easily damaged and needs reapplication regularly. Somewhere in between is this technique for applying standard off-the-shelf varnish to get a tough, durable, glassy smooth finish. It takes a little time, but mostly just waiting for each coat to dry. If you have somewhere dust-free you can leave pieces to cure, you can get on with other things in the meantime. Like with most things, don't rush it, be careful, practice a bit and you'll be able to get awesome finishes every time. Here is a piece of teak, which has been cut, shaped and sanded until perfectly smooth and ready to be finished. It's a nice shape, and it's pleasing to touch, but it doesn't look as good ...