Posts

A Short Gilding Tutorial
Image
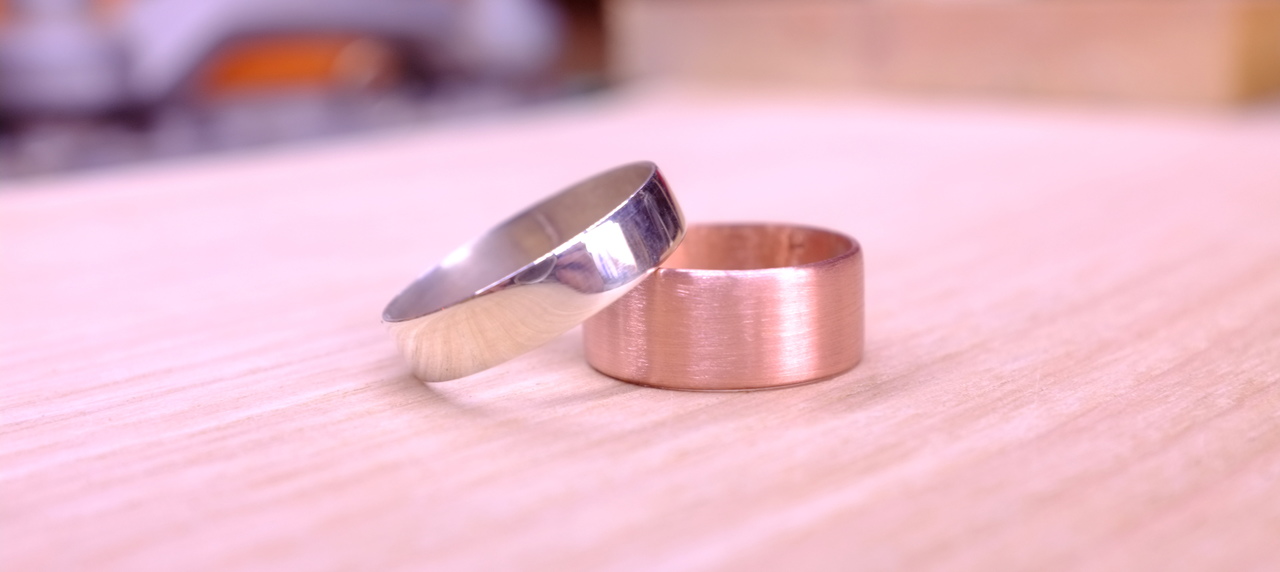
As requested by someone on Reddit's wonderful /r/crafts subreddit, a short tutorial on gilding. Gilding is not as hard as you might expect, and with a simple beginner's kit , you can get going right away. I suggest purchasing an imitation leaf kit to start with, as messing up gilding aluminium is an awful lot cheaper than messing up with 24k gold leaf! OK, so here are a pair of rings waiting to be gilded. They were made as per the tutorial on making metal rings I did last week. One silver, one copper. One bright and mirror polished, one satin finish. They need to be clean, so no finishing polish or wax just yet. I'm going to use two different gilds on these, in two different styles - but your options are limited only by your skills with a brush and your imagination. Gilding, being an ancient art, has lots of lovely old language associated with it. Gilders don't use glue, they use size. It's basically just glue. I like to use a nice fine lining...

How To Make A Simple Metal Ring

Image
Shiny! This simple ring is a great way to start to learn how to work with metal. I've tried not to use too many specialist tools, so this should be - hopefully - helpful for beginners. Things you will need: metal, silver solder, blowtorch, hacksaw, emery cloth (or wet-and-dry paper), hammer. Things you don't need but will make life easier: file, solder flux, nylon/rawhide mallet, power drill/lathe, ring mandrel, ball pein hammer. First up, metal. Almost anything you can buy in sheet form is OK, I'm using copper because it's cheap and fairly easy to work with. Brass would be another good option, maybe even silver if you're feeling wealthy. I buy my metals from  Cookson Gold  in the UK, other suppliers are available. Note: aluminium is not suitable, it melts at a lower temperature than the solder does. Using some Maths ( 2 x pi x (r + metal thickness) ), or  this useful calculator , work out how big you need your blank to be, and mark and cut. I'm ...

How To Apply Varnish For Excellent Finishes

Image
Finishing can be fiddly. Sprayed lacquer is good, but spray guns are expensive and so is the stuff to put in them. Plus you can forget about breathing in your workshop for a few hours after each spray session. Applying a wax coat is quick and easy, does bring out some of the lustre of a wood, but it's easily damaged and needs reapplication regularly. Somewhere in between is this technique for applying standard off-the-shelf varnish to get a tough, durable, glassy smooth finish. It takes a little time, but mostly just waiting for each coat to dry. If you have somewhere dust-free you can leave pieces to cure, you can get on with other things in the meantime. Like with most things, don't rush it, be careful, practice a bit and you'll be able to get awesome finishes every time. Here is a piece of teak, which has been cut, shaped and sanded until perfectly smooth and ready to be finished. It's a nice shape, and it's pleasing to touch, but it doesn't look as good ...

Easy Vietnamese-style Coffee Ice-cream

Image
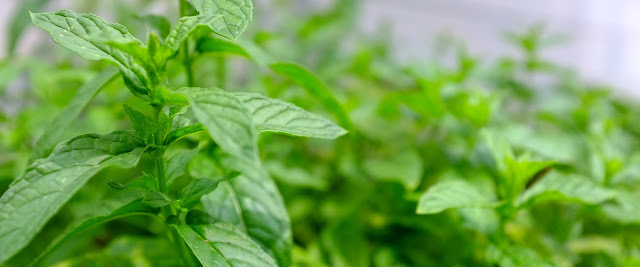
Not so much a jewellery or woodworking howto, this, but frankly my south-facing workshop has been insanely hot the last few weeks - over 40C on some days! - so personal cooling is important. This is really, really easy. If you can make a cup of coffee, you can make this. You don't even need an ice-cream machine although it does make things easier if you do. The 'secret' ingredient is fresh mint. Sounds daft, but roll with this one, it really works. Gather some mint. Chuck it in your cafetiere or drip filter or espresso jug (so the coffee ends up on the mint, not in with the coffee grounds).  If you don't have any mint, don't sweat it, the end result will still be tasty. Luckily our garden has bushes of the stuff. While that's brewing, nice and strong, pour a tin of sweetened condensed milk into a jug. Opening the lid of the tin is probably the hardest step of this whole recipe. Add your coffee, stir well. You can go 50/50 milk to coffee, or more...

How to Make a Wire-Inlaid Wooden Necklace

Image
I know in my last post I said I'd do some epoxy inlay stuff, but I just finished a run of epoxy inlay and have been doing some wire inlays recently instead. So, wire inlay it is today, epoxy inlays another time. A simple wire inlay on a carefully chosen piece of wood can create a beautiful piece of jewellery which will last for years. This tutorial will cover a very simple, single wire inlay, but the principles for doing more complex things are the same. First up, choose some wood. Lets assume we've gone through the standard rough-cut, shaping, sanding montage and go straight to selecting from some wooden pendant blanks. Left to right I have Purpleheart, Padouk, Douglas Fir, more Purpleheart and the one I've chosen, a piece of American Black Walnut. It doesn't look too jazzy now, but when we're done it'll be really nice. Walnut is quite an understated wood, but it's definitely got class. So, first things first - mark where you want your inlay to g...