Posts

Finishing Rings with CA (Superglue)

Image
Wooden rings benefit from a good tough, protective coating both for visual appeal and to keep them safe from scratches and knocks. CA (superglue) is perfect for this. It dries very hard, very tough and super glossy. The process for finishing a ring is pretty easy. It's as simple as building a few layers on the ring, sanding flat and then polishing to a shine. The ring featured below only took ten minutes from start to finish, which is helped by using an accelerator spray on the CA, but even without that you can do the whole job in well under an hour. Before starting, the ring has been sanded to 1500 grit, dusted and cleaned with white spirit, then mounted on my turning jig (OK, OK, it's a power drill clamped to my bench - but it works!). This process can be used for metal rings too - a coat of CA will protect a gilded finish, or stop copper from tarnishing. For a change, I've made a video of the process rather than photos. Here we go, apologies in advance for dodgy ed...

EverBrite ProtectaClear Metal Finishing Coat - Test and Review

Image
I recently acquired a small bottle of EverBrite's ProtectaClear coating, a skin-safe, one part coating for metal jewellery. Supposed to be tough, hardwearing and so on, to keep metals safe from tarnish and oxidation and other damage. It's simple enough to use - a light, clear liquid which brushes on easily and dries fast - but does it work? Time to run some tests. I prepared a few bits of copper, as that tarnishes quickly and I have scraps kicking around my workshop. Also a chance to try out my new letter punches. Nice and clean, not 100% polished by hey - just a test, right? Fully degreased and prepped for coating. Coated and dry and ready to go. The zero band has no coating, the one a single coat, the two a double coat. Time to put these things through some punishment.   OK, top to bottom: A - On my keyring. Two days of being bashed around in my pocket with assorted bits of metal in close contact. B - Tied to my shoe. An afternoon ...

A Short Gilding Tutorial

Image
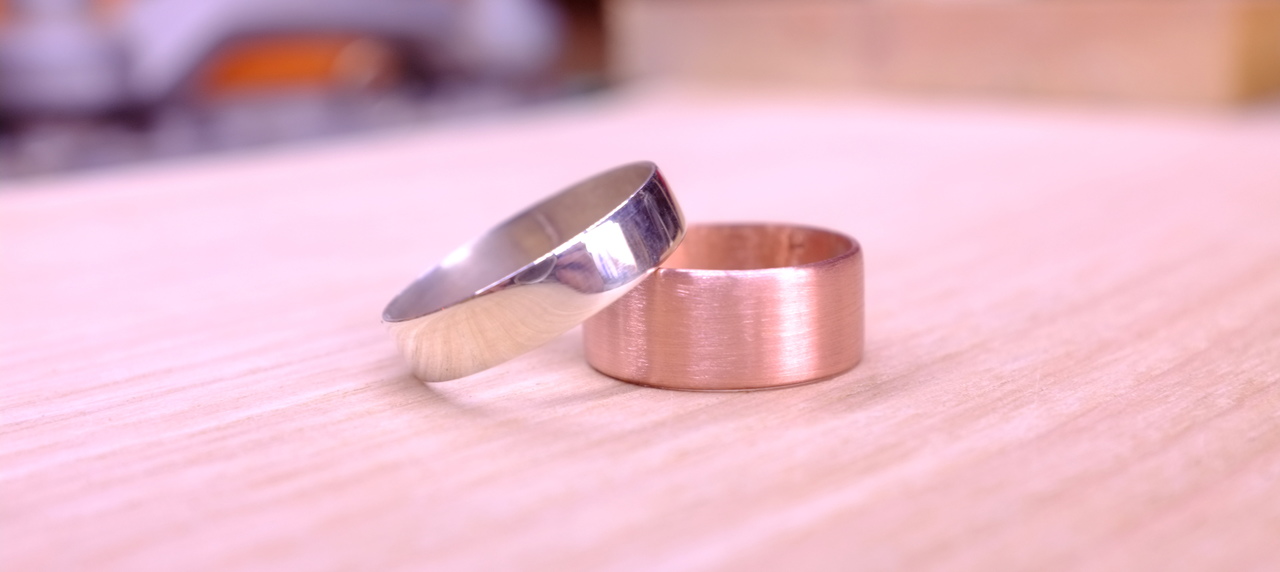
As requested by someone on Reddit's wonderful /r/crafts subreddit, a short tutorial on gilding. Gilding is not as hard as you might expect, and with a simple beginner's kit , you can get going right away. I suggest purchasing an imitation leaf kit to start with, as messing up gilding aluminium is an awful lot cheaper than messing up with 24k gold leaf! OK, so here are a pair of rings waiting to be gilded. They were made as per the tutorial on making metal rings I did last week. One silver, one copper. One bright and mirror polished, one satin finish. They need to be clean, so no finishing polish or wax just yet. I'm going to use two different gilds on these, in two different styles - but your options are limited only by your skills with a brush and your imagination. Gilding, being an ancient art, has lots of lovely old language associated with it. Gilders don't use glue, they use size. It's basically just glue. I like to use a nice fine lining...

How To Make A Simple Metal Ring

Image
Shiny! This simple ring is a great way to start to learn how to work with metal. I've tried not to use too many specialist tools, so this should be - hopefully - helpful for beginners. Things you will need: metal, silver solder, blowtorch, hacksaw, emery cloth (or wet-and-dry paper), hammer. Things you don't need but will make life easier: file, solder flux, nylon/rawhide mallet, power drill/lathe, ring mandrel, ball pein hammer. First up, metal. Almost anything you can buy in sheet form is OK, I'm using copper because it's cheap and fairly easy to work with. Brass would be another good option, maybe even silver if you're feeling wealthy. I buy my metals from  Cookson Gold  in the UK, other suppliers are available. Note: aluminium is not suitable, it melts at a lower temperature than the solder does. Using some Maths ( 2 x pi x (r + metal thickness) ), or  this useful calculator , work out how big you need your blank to be, and mark and cut. I'm ...

How To Apply Varnish For Excellent Finishes

Image
Finishing can be fiddly. Sprayed lacquer is good, but spray guns are expensive and so is the stuff to put in them. Plus you can forget about breathing in your workshop for a few hours after each spray session. Applying a wax coat is quick and easy, does bring out some of the lustre of a wood, but it's easily damaged and needs reapplication regularly. Somewhere in between is this technique for applying standard off-the-shelf varnish to get a tough, durable, glassy smooth finish. It takes a little time, but mostly just waiting for each coat to dry. If you have somewhere dust-free you can leave pieces to cure, you can get on with other things in the meantime. Like with most things, don't rush it, be careful, practice a bit and you'll be able to get awesome finishes every time. Here is a piece of teak, which has been cut, shaped and sanded until perfectly smooth and ready to be finished. It's a nice shape, and it's pleasing to touch, but it doesn't look as good ...

Easy Vietnamese-style Coffee Ice-cream

Image
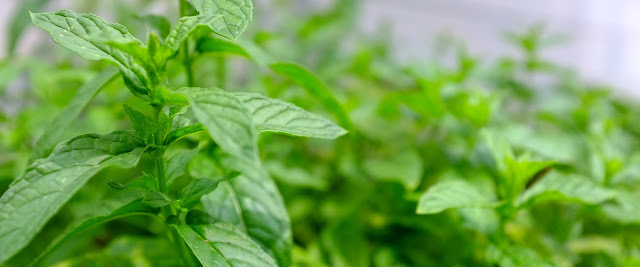
Not so much a jewellery or woodworking howto, this, but frankly my south-facing workshop has been insanely hot the last few weeks - over 40C on some days! - so personal cooling is important. This is really, really easy. If you can make a cup of coffee, you can make this. You don't even need an ice-cream machine although it does make things easier if you do. The 'secret' ingredient is fresh mint. Sounds daft, but roll with this one, it really works. Gather some mint. Chuck it in your cafetiere or drip filter or espresso jug (so the coffee ends up on the mint, not in with the coffee grounds).  If you don't have any mint, don't sweat it, the end result will still be tasty. Luckily our garden has bushes of the stuff. While that's brewing, nice and strong, pour a tin of sweetened condensed milk into a jug. Opening the lid of the tin is probably the hardest step of this whole recipe. Add your coffee, stir well. You can go 50/50 milk to coffee, or more...